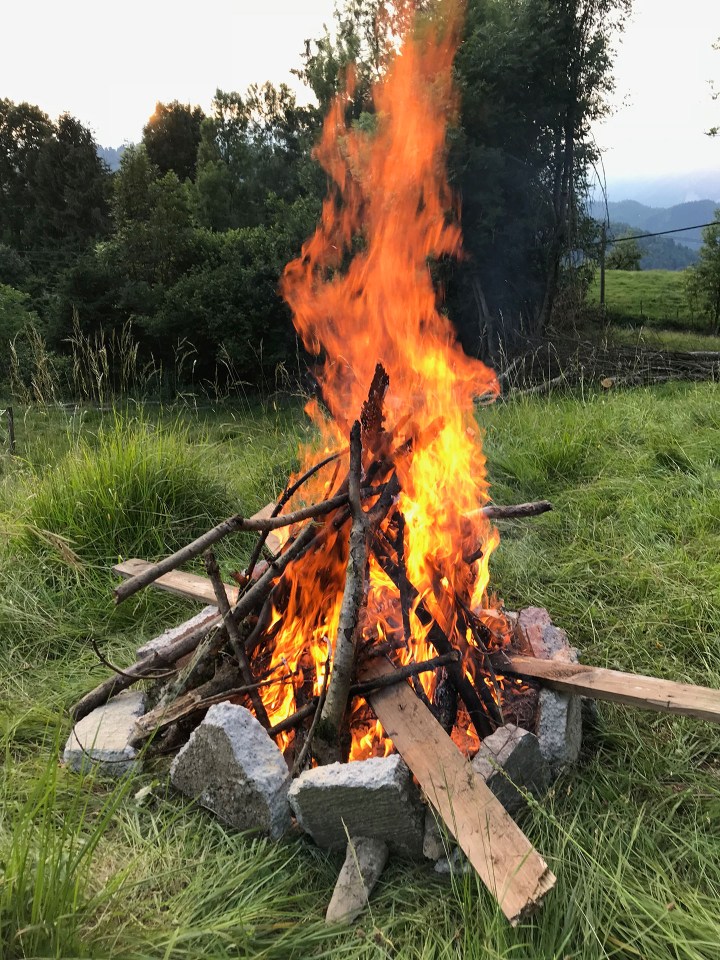
You can ‘bake’ your clay stove at home – with making a so-called PIT FIRE – the original method for baking clay. It dates back nearly 30,000 years ago.
- Your stoves need to be as dry as possible (to prevent cracking), so try to use any method on disposal to dry the clay properly. After the stoves have been drying indoors for 2 weeks, we laid them next to a bon fire for an hour or so.

2. Dig out a hole at least 40cm high, or make additional walls around the hole to keep as much heat around and above the stoves for as long as possible.

3. Put some stones or rocks on the bottom of the pit to insulate the fire. Earth is not a good insulator – it sucks the heat out of the fire and lowers the temperature.

4. Fill the hole with sawdust or wood-chips up to app. 20cm. I used some branches to support the stoves. Lay the stoves on top of branches.


5. Cover the stoves with more sawdust, but leave some space inside the stoves for the air to go through.


6. Cover the sawdust with many rolled newspapers – it makes the fire to spread around all the pit very quickly to make an even burn, which is very important. Cover the paper with wood. You can do better than I did and fill all the pit with smaller pieces all the way to the edge.


7. Ignite the pit from several sides to make an even burn. Due to paper and dry wood, the fire ignites quickly, so be careful when starting. I kept the fire going with more wood for 3 hours, than left the fire over night to chill down.
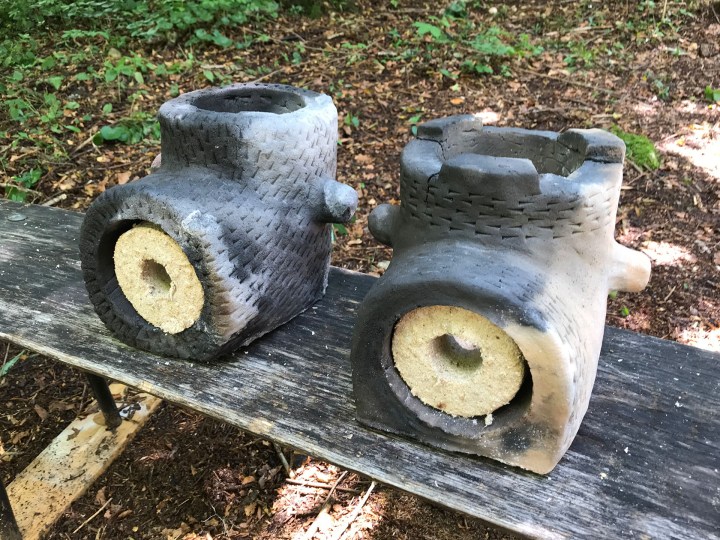
8. Take out your stoves and check if the walls broke. From my 2 pieces I just noticed 1 small break, which is very good for my first attempt!


Wait for the stoves to chill down and clean them with a brush.